Quick Start
TL;DR I built a template vault based on the settings and instructions in this post.
Create your own vault from the template and then follow the instructions on the README to get started. Continue reading for the breakdown of what I think is a good default setup in Obsidian without any third-party plugins.
Install
Obsidian can be installed on mobile for iOS and Android and on desktop by visiting their downloads page.
Alternatively, if you are on macOS you can use Homebrew:
brew install --cask obsidian
Startup
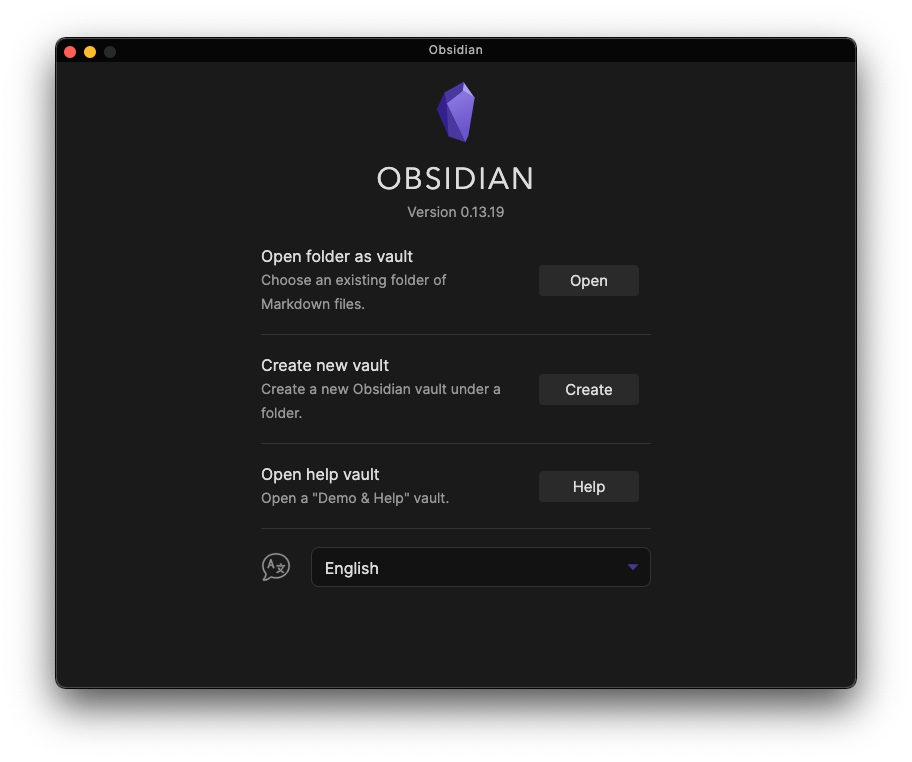
Once installed, opening Obsidian for the first time will land you on the vault creator where you can create a new vault, open a folder in Obsidian as a vault, or open the help vault where you can find the documentation.
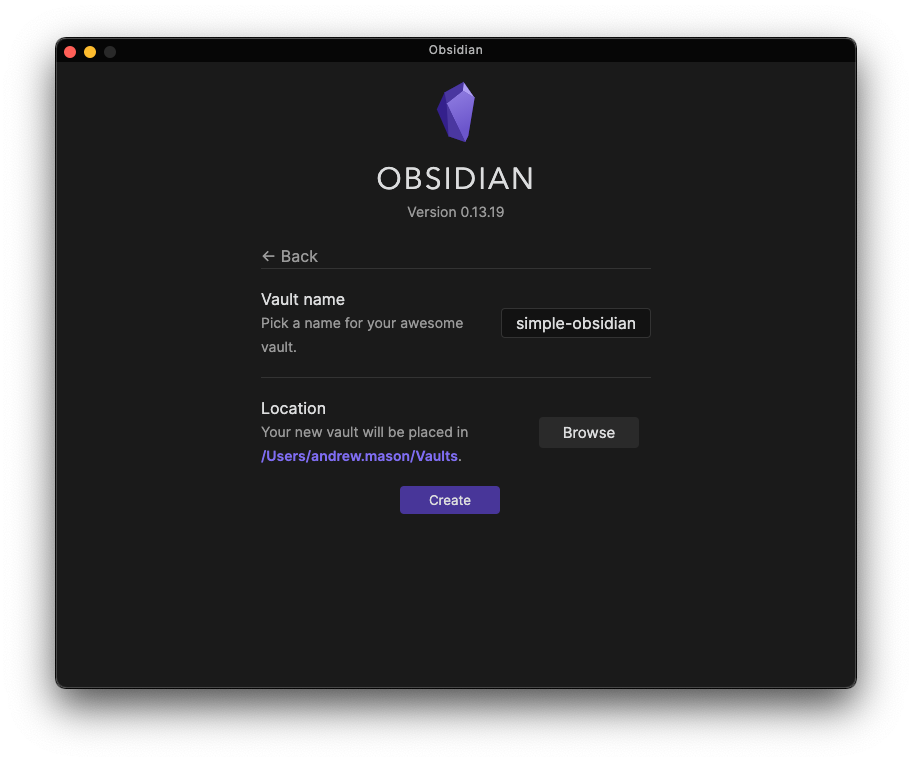
Create a new vault and then enter in the name and choose a location.
When your vault opens for the first time, you may be prompted to turn on Live Preview which I suggest doing.

Your new vault should now be ready for notes to be added.

Setup
The first thing I do after creating a new Obsidian vault is to create the following folder structure:
.
├── _assets
│   ├── attachments
│   └── templates
└── daily
attachments- this is where we will store files like images.templates- This where we will store our templates.daily- This is where we will store our daily notes.
Settings
Editor
| Setting | Value |
|---|---|
| Show frontmatter | Enabled |
| Fold heading | Enabled |
| Fold indent | Enabled |
| Use tabs | Enabled |
| Tab size | 2 |
Files & Links
| Setting | Value |
|---|---|
| Confirm file deletion | Disabled |
| Automatically update internal links | Enabled |
| Detect all file extensions | Enabled |
| Default location for new attachments | In the folder specified below |
| Attachment folder path | _assets/attachments |
Appearance
| Setting | Value |
|---|---|
| Translucent window | Enabled |
| Font size | 15 |
Hotkeys
I have modified some of the important hotkeys to better match VS Code’s defaults since that is the text editor that I am most familiar with. Click the Restore default icon if you’d like to revert a specific hotkey to Obsidian’s default hotkeys.
| Description | Shortcut |
|---|---|
| Command palette: Open command palette | ⌘⇧P |
| Delete current file | ⌘⇧Backspace |
| Delete paragraph | ⌘⇧D |
| Edit file title | ⌘⌥T |
| Focus on editor | ⌘1 |
| Quick switcher: Open quick switcher | ⌘P |
| Split horizontally | ⌘\ |
| Split vertically | ⌘⇧\ |
| Swap line down | ⇧⌥↓ |
| Swap line up | ⇧⌥↑ |
Core plugins
| Plugin | Value |
|---|---|
| Outgoing Links | Enabled |
| Tag pane | Enabled |
| Daily notes | Enabled |
| Templates | Enabled |
| Slash commands | Enabled |
| Starred | Enabled |
| Markdown format importer | Disabled |
| Outline | Enabled |
| Audio recorder | Enabled |
| Workspaces | Enabled |
Community Plugins
| Setting | Value |
|---|---|
| Safe mode | Disabled |
Core Plugin Options
Templates
| Setting | Value |
|---|---|
| Template folder location | _assets/templates |
Daily notes
Daily Note Template
Create a new template titled t_daily under _assets/templates. Refer to the Templates documentation for more information about variables.
# {{date}}

## Notes

---

#daily
Settings
| Setting | Value |
|---|---|
| New file location | daily |
| Template file location | _assets/templates/t_daily |
| Open daily note on startup | Enabled |
Hotkeys
| Description | Shortcut |
|---|---|
| Templates: Insert template | ⌘⌥I |
Important Documentation
I would suggest starting with these documentation pages:
- Creating Notes Documentation
- Embedding Files Documentation
- Block Level Linking Documentation
- YAML Front Matter Documentation
Wrap Up
This post is still growing so expect some changes. Also, don’t forget to check out the GitHub repo for the template!
Thanks for reading! You can discuss this post using one of the links below. Additionally, it would mean a lot if you shared this post with others!
Recent Posts
-
Minimalist Habit Tracker Template for Obsidian
May 12th, 2022 - 2 min read
-
My Twitter Avatar
May 4th, 2022 - 1 min read